Captions
PORN
FAP Captions
Cum Sluts
Movie Nudes
Share
Open Chat
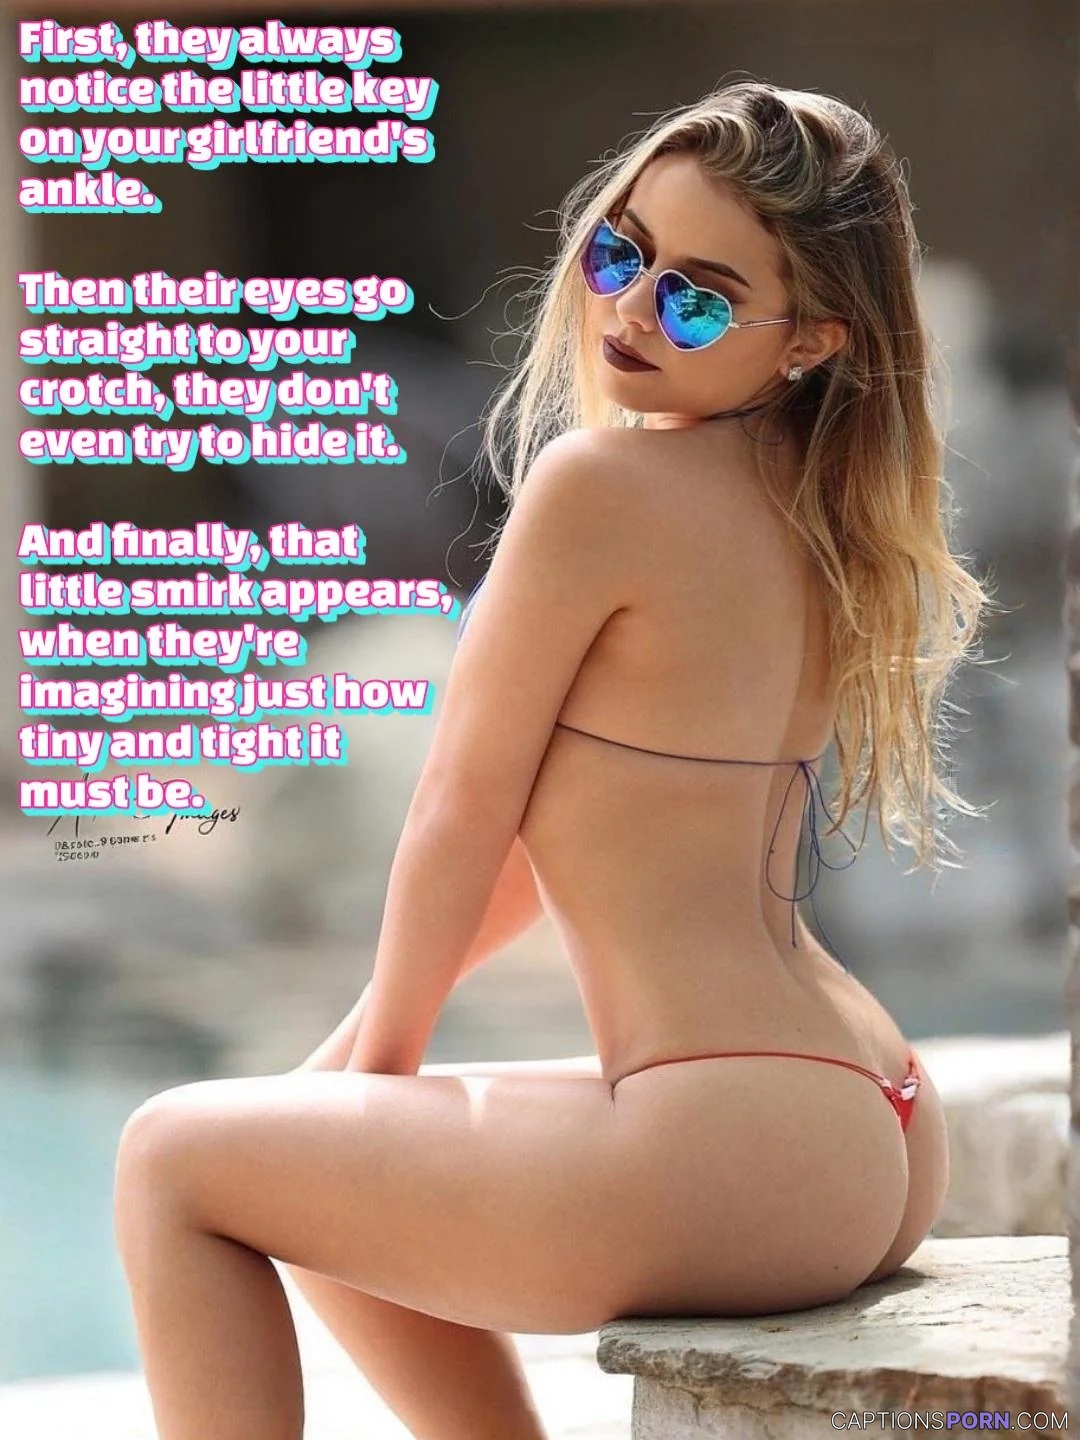
Locked and Loaded: Her Key to Ecstasy
Every single time she teases him with that
key
, his cage gets tighter and his desire burns hotter. She knows just how to play with her toy, edging him closer to madness without ever setting him free.
Chastity Tease
Denial Kink
Power Play
Tease And Denial
Key Holder Captions
Next post
Video Captions
The Game
Did it push you over the edge, babe, thinking about me with other men?
Are you going to the party or waiting for more snaps?
He Will Love It, If You Know How To Talk Dirty To Him 😍😍
Daddy Marking His Territory
Part 1: I believed her when she said I didn’t have to worry about the landlord.
There's a reason you can't defend yourself from men. No matter what you do we will be able to overpower you. It's supposed to this way. It's how you were designed. Now admit what you are.
Greedy Mom Demands Every Last Drop
Genius idea from her dad
Filthy Goon Queen Can't Get Enough
Show more
Keep Exploring
Locked Up & Lusting: The Ultimate Tease
Key Holder Captions
Locked & Loaded for Our Dirty Date
Key Holder Captions
Keep it LOCKED!🔒
Key Holder Captions
pussyfreeporn
It’s her property, after all.
Key Holder Captions
Not sure this was a smart trade…
Key Holder Captions
Imagine how productive and horny you would be [no imafefap] [oc]
Key Holder Captions
New Places
Key Holder Captions
Unlock Your Desires & Surrender to Pleasure 🔑💦
Key Holder Captions
Goddess
Key Holder Captions
Locked & Loaded: The Ultimate Test of Patience
Key Holder Captions
Locked and Loaded for Your Pleasure [OC]
Key Holder Captions
Unleash Your Desires
Femdom Captions
Key Holder Captions
My buddy's about to discover why I keep my wife's pussy locked up for him
Key Holder Captions
Unlock Your Desires
Key Holder Captions
The morning after
Key Holder Captions
Your request has been considered
Key Holder Captions
Dominance Displayed: No Disclosures, Just Delights
Key Holder Captions
She kept using your chastity cage to push your boundaries. The more you let her do what she wanted, the more attention she paid to your pleasure.
Key Holder Captions
Loud and clear, ma’am. [ImageFap: kinklover_uk]
Key Holder Captions
Dare to Dive Deep?
Key Holder Captions
Locked Up and Laughing My Ass Off 😂🔒
Humiliation Captions
Key Holder Captions
You May Also Like
The first thing you may notice about me is my boobs
mostlyboobs.com
Fuck yeah! Demi's 19yo college ass is begging for your cock!
collegeflirts.com
Luna's Ultimate Fuckdoll Fantasy: Watch & Cum Hard
yunofap.com
Slutty schoolgirl squirting and fucking her holes to orgasm - Lina Moore
porn15s.com
Blonde Hiker Strips Naked to Flaunt Her Juicy Pussy Outdoors - Must See!
pussynudes.com
Deep Lush - Savannah Bond - Indulging In Savannah
porn15s.com
Verona Pooth
germansgonewild.com
Anya Chalotra in The Witcher
filmnudes.com
Pumping My Tight Pussy with a Huge Dildo - Grool and Gooning
sexgify.com
A natural g cups drop
mostlyboobs.com
Just trying to tempt you into a quick jerk
mostlyboobs.com
Riddhi Dogra
fapwiz.com
Deep Dive: Let's See How Far Your Big Cock Can Go Inside Me
pussynudes.com
Naomi Soraya - I want your cum pumped in me (OC)
porn15s.com
Random Porn Caption


![Imagine how productive and horny you would be [no imafefap] [oc]'](https://cdn.captionsporn.com/88716/imagine-how-productive-and-horny-you-would-be-no-imafefap-oc-thumbnail.webp)


![Locked and Loaded for Your Pleasure [OC]'](https://cdn.captionsporn.com/235012/you-got-turned-on-again-oc-thumbnail.webp)


![Loud and clear, ma’am. [ImageFap: kinklover_uk]'](https://cdn.captionsporn.com/46933/loud-and-clear-maam-imagefap-kinklover_uk-thumbnail.webp)


