Captions
PORN
FAP Captions
Cum Sluts
Movie Nudes
Share
Open Chat
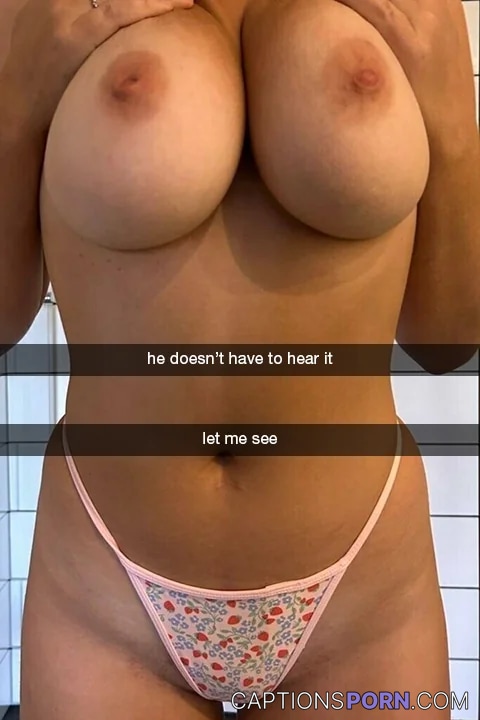
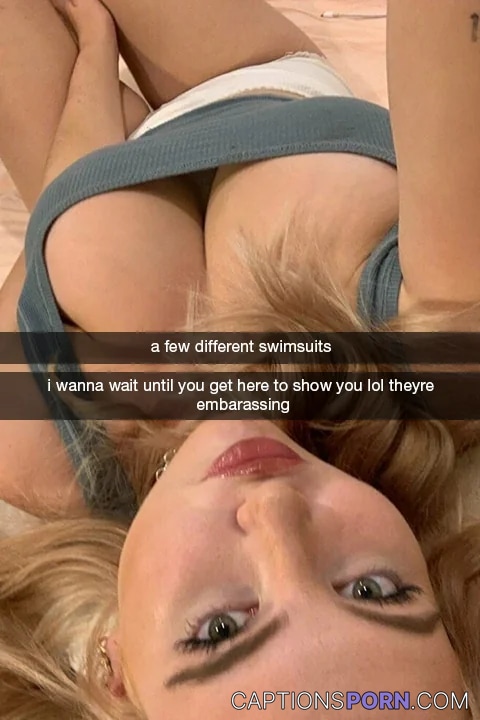
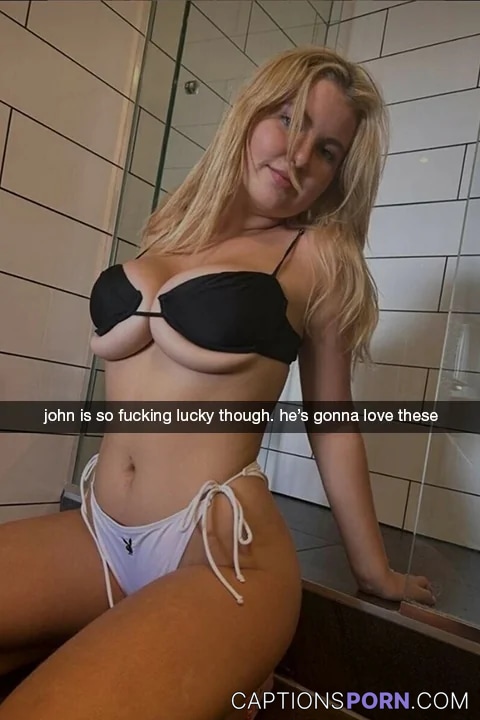
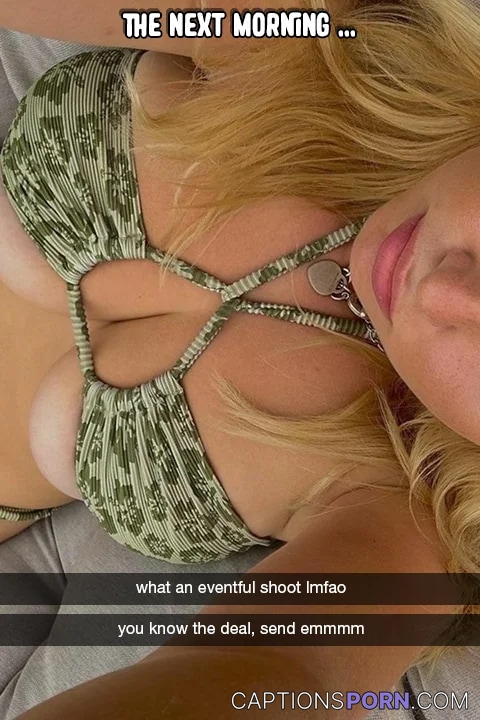
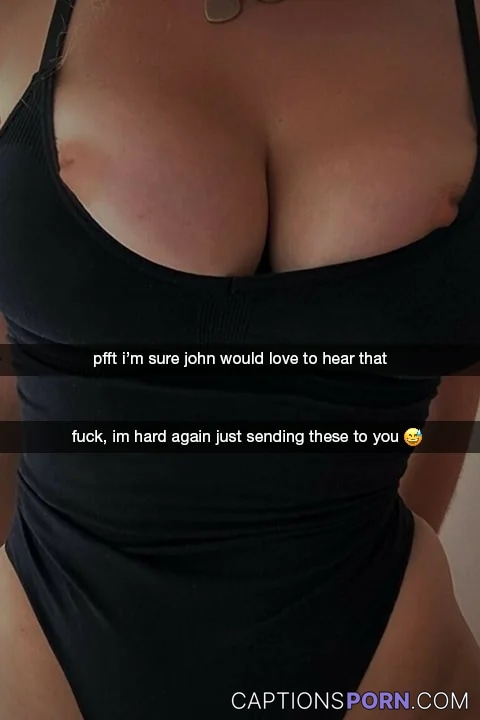
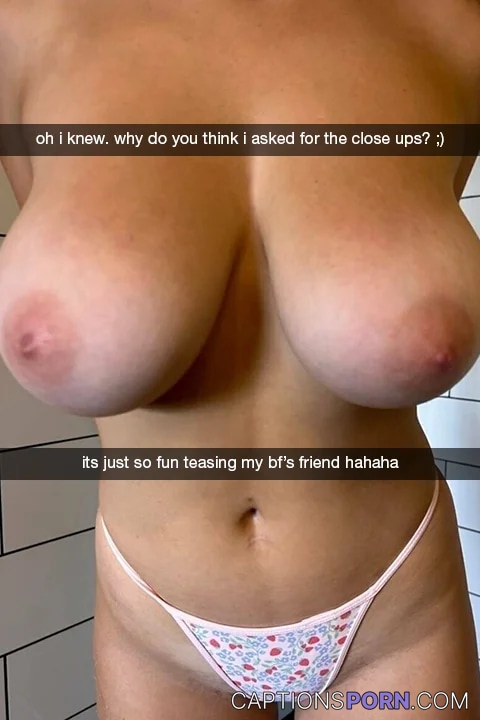
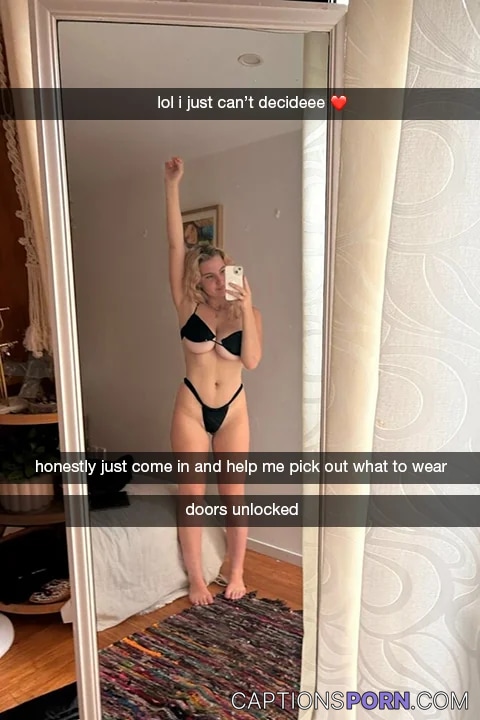
Boudoir Photography for the Loyalty Test – Part Three
Cheating wife/ girlfriend
Cheating Captions
Next post
Video Captions
Can you watch it
Mom who show their her daughters how to suck cock are special ladies!
All night....
Campus Slut Swallows More Than Just Knowledge on Day One
Before and after a date
Bros Before Hoes: Striking Out Leads to Steamy Surprises
I’ll always help you… anything you ever need
It’s our choice how you serve
All that pressure to succeed and you ended up here… make sure to thank your father while you get used by your Daddy.
Snow Bunnies Crave Big Black Dominance
Show more
Keep Exploring
If she keeps up this hard work she's gonna be promoted soon
Cheating Captions
Cuckold Captions
She's the Life of the Party and Then Some
Cheating Captions
What would you do?
Cheating Captions
Your friend’s private gym (part 2)
Cheating Captions
When Your Wife's BFF Turns Into Your Secret Fuckbuddy
Cheating Captions
MaleCheating
Your wife spent a week choosing swimsuits for her business trip.(OC)
Cheating Captions
Stop texting loser
Cheating Captions
Wait til he tastes her asshole
Cheating Captions
The Bucket List - Part 2 of 3
Cheating Captions
At the point my fingers are on your clit is the perfect time to ask if you want me to stop - #marriedwomencumharder
Cheating Captions
I get what I want, when I want it!
Cheating Captions
The obsession for her past made a mess 🐢
Cheating Captions
Cheating Snaps
Cuckold Captions
Hot Past Captions
Hot Wife Caption
Wild Encounter (Part 2)
Cheating Captions
Dad gets a piece of your girlfriend while you’re still at work.
Cheating Captions
Taboo Captions
She Never Learns Her Lesson
Cheating Captions
Whoops, maybe next year babe💕
Cheating Captions
NSFW Captions
Yoga just made me extra bendy for this sneaky throatpie 🍆💦
Cheating Captions
Cuckold Captions
NSFW Captions
Naughty Getaway: Her Secret Vacation Fling Unleashed!
Cheating Captions
Results of the loyalty test
Cheating Captions
NSFW Captions
I like making bets
Cheating Captions
You've always wanted to know if she's cheating on you and.....yes, she does!
Cheating Captions
You May Also Like
Kann mal bitte jemand meinen BH lösen? Ist etwas eng hier oben 🙈
germansgonewild.com
Hot Amateur Fuckdoll Shows Off Her Perfect Body - On/Off Tease & More!
yunofap.com
Catherine Waterson - The Babysitters (2007)
filmnudes.com
Anna Claire Clouds' Shaved Pussy Is Hungry For Cock
porn15s.com
Blonde Bombshell Takes It Deep - When It Goes In Hard & Fast
analcave.com
Big Tits, Big Ass, Sleeper Build: OnlyFans Amateur Video
sexgify.com
Fuck yeah! Demi's 19yo college ass is begging for your cock!
collegeflirts.com
Centaurs can make any panties look good ;)
fapwiz.com
Don't tell your girlfriend I showed you this
mostlyboobs.com
Gentle First Time Anal: Bella Rose Takes It Slow & Deep
analcave.com
One Finger or Three? Watch Her Drip in Ecstasy - TinyArabBaby's Perfect Pussy
pussynudes.com
Naughty Ashley Flaunts Her Natural Tits & Thong in Hot College Tease
collegeflirts.com
Bare & Risky: Sneaky Laundromat Flash with No Panties! | AdventureJuntos
pussynudes.com
Latina Slut's First-Year Fuck Fest: Sucking and Riding Like a Pro
collegeflirts.com
Random Porn Caption